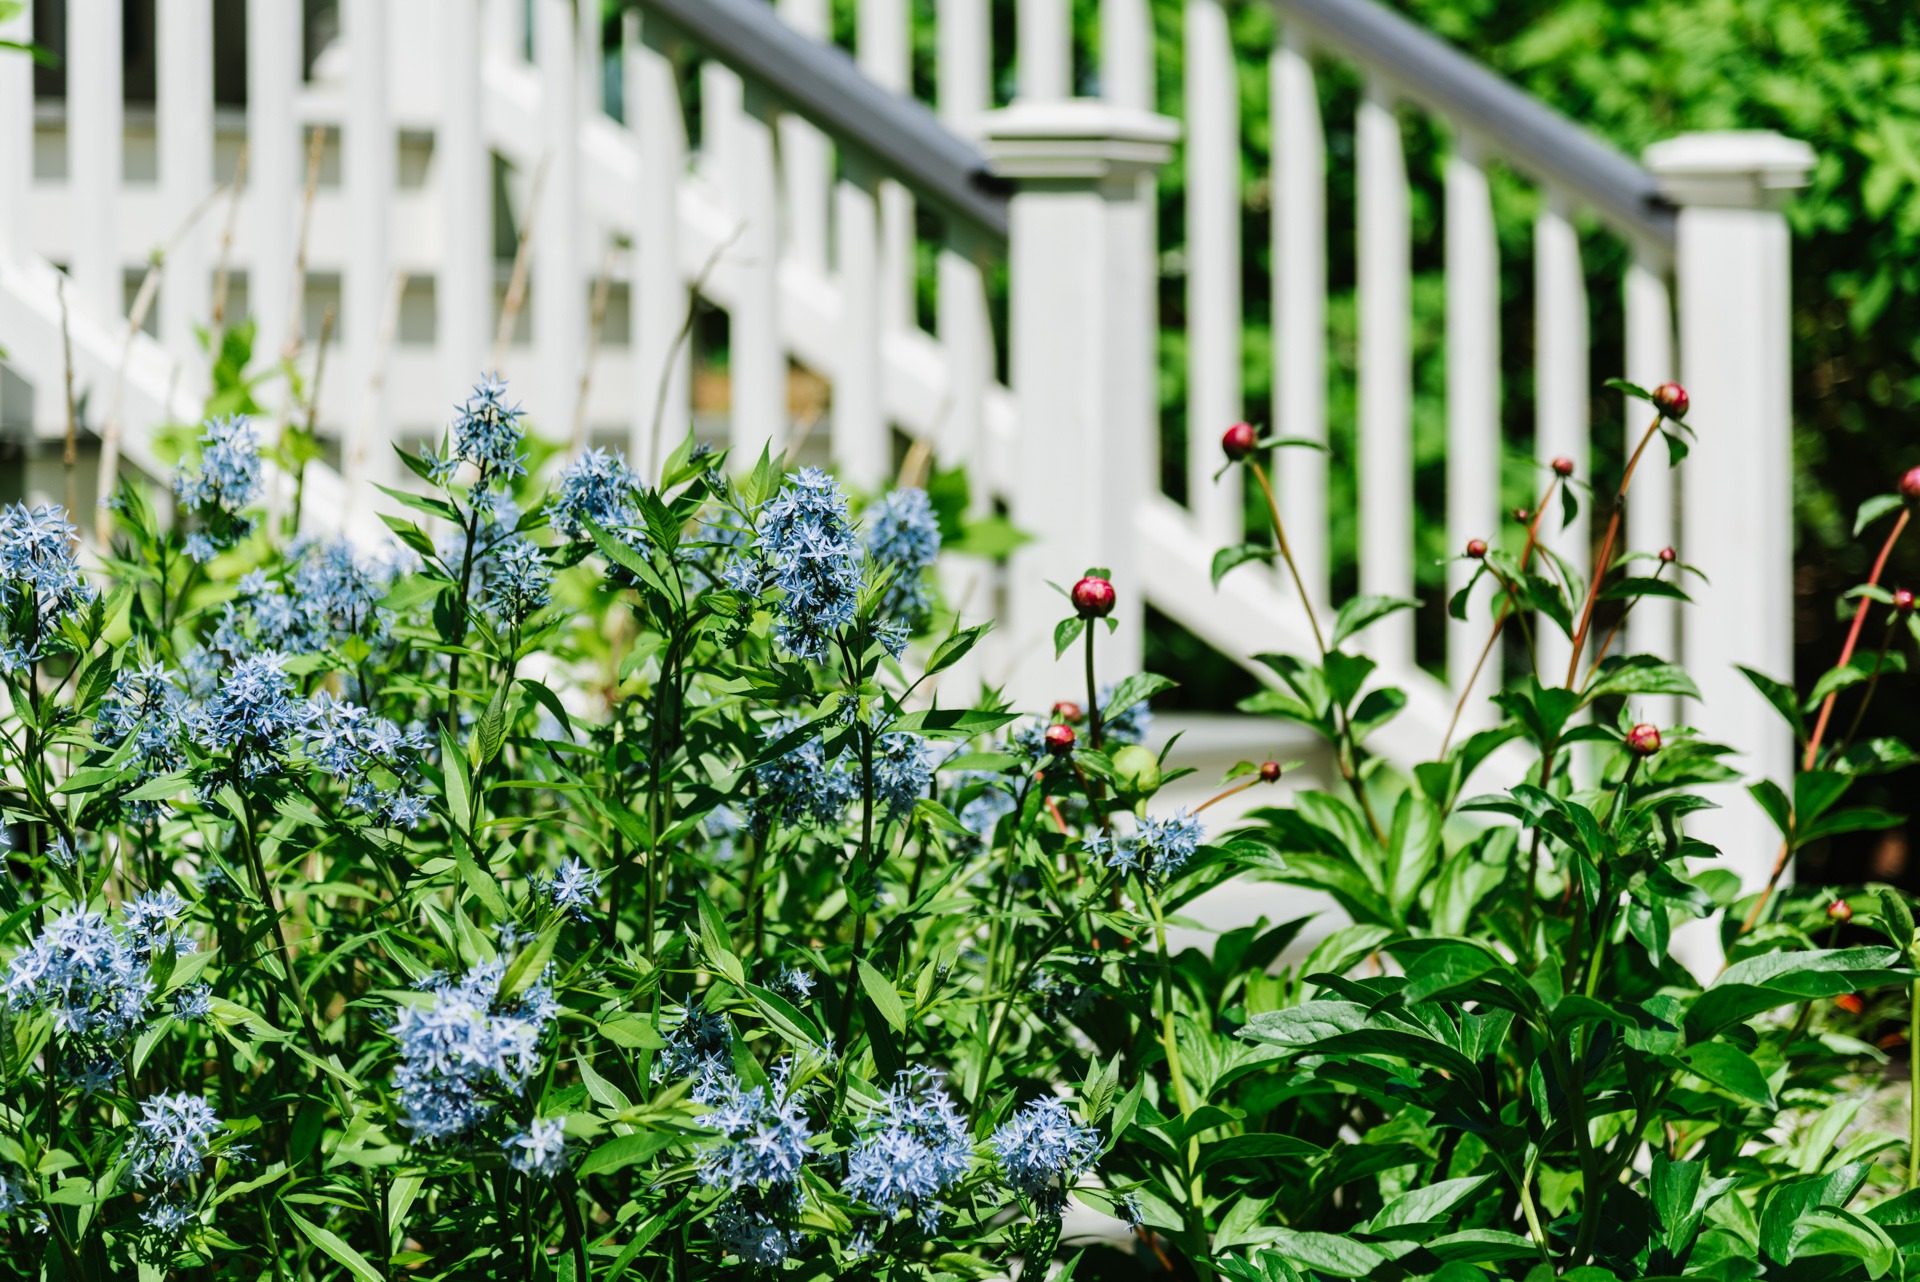
Core Practices for Flower Bed Maintenance with a Landscape Contractor in Hyde Park, MA
- Remove weeds weekly to prevent them from competing with your plants for nutrients, sunlight, and water.
- Use hand tools or a hoe for precise removal, especially around delicate flowers.
- Feed plants with appropriate fertilizers depending on their growth cycle (e. g. , nitrogen-rich during vegetative growth, phosphorus-rich during flowering).
- Organic options like compost tea or bone meal are eco-friendly alternatives.
Best Tools for Garden Maintenance with Landscaping Services in Hyde Park, MA
Investing in high-quality tools makes maintenance tasks more efficient.
| Tool |
Purpose |
| Hand Trowel |
Planting small flowers & digging |
| Pruning Shears |
Trimming overgrowth |
| Hoe |
Removing shallow-rooted weeds |
| Garden Fork |
Aerating soil |
| Mulch Spreader |
Distributing mulch evenly |
Enhancing Soil Quality for Landscape in Hyde Park, MA
- Incorporate organic matter such as compost or aged manure to improve texture and fertility.
Tips for Maintaining Aesthetic Appeal with Landscape Design in Hyde Park, MA
- Use edging materials like stone, wood, or metal borders to define flower beds clearly.
- Group plants by height and color for a balanced appearance.
- Add decorative elements like small statues, trellises, or planters as focal points.
By implementing these strategies consistently, you can create a flourishing garden that adds beauty and value to your outdoor space while remaining healthy year-round.
Seasonal Planting & Rotation
Seasonal planting and crop rotation are essential practices for maintaining a healthy, vibrant, and sustainable landscape.
Benefits of Seasonal Planting with Landscaping Companies Near Me
Seasonal planting involves selecting plants that are best suited to grow during specific seasons.
- Maximized Plant Growth:Different plants have varying sunlight, temperature, and moisture requirements. Planting seasonally ensures optimal growth conditions.
- Extended Bloom Periods:By choosing a combination of early bloomers, mid-season flowers, and late bloomers, you can enjoy color throughout the year.
- Reduced Pest Populations:Rotating plant varieties helps break pest life cycles by removing their preferred food sources at certain times.
Steps for Effective Seasonal Planting
- Understand Your Hardiness Zone:Research your region’s climate and USDA hardiness zone to determine which plants will thrive in each season.
- Plan Ahead:Create a garden calendar to schedule planting times for annuals, perennials, vegetables, or herbs based on their ideal growing seasons.
| Season |
Ideal Plants |
| Spring |
Tulips, Daffodils, Lettuce |
| Summer |
Tomatoes, Zinnias, Marigolds |
| Fall |
Kale, Chrysanthemums |
| Winter (mild climates) |
Pansies |
Crop Rotation for Healthier Soil
Crop rotation is another important aspect of seasonal gardening.
Key Principles of Crop Rotation:– Avoid planting crops from the same “family” in the same area repeatedly (e. g. , tomatoes and peppers are both nightshades). – Rotate heavy feeders (plants that deplete nutrients rapidly) with nitrogen-fixing plants like legumes.
Tips for Successful Seasonal Gardening
- Regularly evaluate your garden’s performance to identify which plants work well together during different seasons.
- Incorporate visual interest by mixing textures – such as pairing leafy greens with flowering herbs.
- Be mindful of microclimates within your yard; shaded corners may allow cool-season crops to thrive even during warmer months.
By adopting seasonal planting strategies combined with proper planning and care routines like crop rotation, gardeners can enjoy beautiful landscapes while fostering long-term ecological balance within their outdoor spaces.
Deadheading & Pruning Flowers
Proper deadheading and pruning of flowers are essential tasks in maintaining a vibrant, healthy garden. These practices not only improve the aesthetic appeal of your landscape but also promote continuous blooming and plant health. Below, we will explore the importance of these techniques and offer practical tips for executing them effectively.
Benefits of Deadheading
Deadheading involves removing spent or fading blooms from flowering plants. This process redirects the plant’s energy away from producing seeds toward generating new blooms and overall growth.
- Extended Bloom Period: Encourages plants to produce more flowers over an extended period.
- Improved Appearance: Keeps the garden looking neat and tidy by removing wilted or discolored petals.
- Prevention of Disease: Reduces the risk of fungal disease by removing decaying flower heads.
Steps for Effective Deadheading
- Identify Spent Blooms: Look for flowers that are wilting or losing their vibrant color.
- Use Sharp Tools: Use clean, sharp scissors or pruners to make precise cuts.
- Cut at the Right Spot: Snip just above a healthy leaf node or bud to encourage new growth.
- Regular Monitoring: Check plants weekly during their blooming season to stay on top of deadheading needs.
Common plants that benefit greatly from deadheading include roses, zinnias, daisies, and petunias.
Importance of Pruning Flowers
Pruning is another vital maintenance practice that ensures plants remain healthy and well-shaped. It involves selectively cutting back stems, branches, or leaves to remove damaged or unwanted growth.
- Enhanced Growth Control: Prevents overcrowding by shaping plants into manageable sizes.
- More Vigorous Blooms: Stimulates stronger flowering in future seasons by encouraging new shoots.
- Disease Prevention: Removes diseased or pest-infested parts before they spread further.
Pruning Tips for Healthier Plants
- For spring-blooming flowers like lilacs, prune immediately after they bloom to avoid disrupting next year’s buds.
- For late-summer bloomers like hibiscus, prune during early spring before active growth starts.
- Sterilize tools with rubbing alcohol before each use to prevent spreading disease.
- Invest in quality bypass pruners for clean cuts.
- Remove deadwood first—branches that appear brittle or discolored.
- Focus on thinning out crowded areas while leaving enough foliage for photosynthesis.
- Research specific needs for each plant species regarding how much can safely be cut back.
| Flower Type |
Deadheading Priority |
Best Time to Prune |
| Roses |
High |
After flowering flushes |
| Hydrangeas |
Medium |
Late winter/early spring |
| Annuals (Petunias) |
High |
Throughout growing season |
| Perennials (Lavender) |
Low |
After blooming cycle ends |
By integrating regular deadheading and pruning into your garden routine, you’ll ensure a thriving landscape that remains both visually appealing and biologically robust throughout the growing season.
Mulch Refresh & Weed Barriers
Proper mulching and the use of effective weed barriers are crucial steps in maintaining a healthy, vibrant landscape. Below is a comprehensive guide to refreshing mulch and managing weed barriers for optimal results.
- Weed Suppression: A well-applied layer of mulch minimizes sunlight exposure to weed seeds, preventing germination.
Steps to Refresh Mulch
Refreshing mulch involves adding a new layer or fluffing up existing material.
- If the previous mulch has compacted or developed mold, remove it entirely before applying a fresh layer.
- Clear any debris or weeds in the area.
- Options include shredded bark, wood chips, straw (such as bamboo straw), pine needles, or even compost.
- Spread 2–3 inches of mulch evenly around plants while keeping it slightly away from stems to prevent rot.
- Fluff Older Mulch (Optional):
- If existing mulch is still usable, use a rake to fluff it up and improve its appearance while enhancing air circulation.
Using Weed Barriers Effectively
Weed barriers act as an additional defense against invasive weeds that compete with desired plants for nutrients and water.
- Choices include landscape fabric, biodegradable mats, or cardboard sheets covered with mulch.
- Remove all visible weeds and level the ground surface.
- Cut pieces of fabric or mat to fit planting areas precisely.
- Overlap edges slightly to prevent gaps where weeds might grow through.
- Use garden staples or pins to secure barriers in place.
- Covering weed barriers with at least 2 inches of mulch improves aesthetics and further suppresses weed growth.
| Type of Weed Barrier |
Pros |
Cons |
| Landscape Fabric |
Durable; allows water/air flow |
Can degrade over time; requires upkeep |
| Biodegradable Mats |
Eco-friendly; enriches soil |
May need frequent replacement |
| Cardboard Sheets |
Cost-effective; decomposes well |
Less durable; may attract pests |
Tips for Success
- Monitor mulched areas regularly for signs of pests or diseases.
- Reapply mulch annually or biannually depending on decomposition rates and weather conditions.
- Combine multiple strategies—such as hand-pulling stray weeds alongside using barriers—for maximum weed control efficiency.
By dedicating attention to refreshing your mulch layers and implementing reliable weed barrier systems, you can create an environment where your plants thrive while reducing maintenance efforts over time. This process not only supports plant health but also saves on resources like water by improving moisture retention within your landscaping beds.
Mulch Refresh & Weed Barriers
Proper mulch application and effective weed barriers are essential components of landscape maintenance. A well-maintained layer of mulch can significantly improve the overall growth environment for your plants.
Mulching offers numerous benefits when done correctly.
– Moisture Retention
– Weed Control
– Temperature Regulation: It keeps root zones cool during hot weather and insulates them during colder months.
– Soil Health Improvement
Choosing the Right Type of Mulch
Selecting an appropriate mulch type is vital to ensure it aligns with your garden’s needs and aesthetics.
| Mulch Type |
Benefits |
Considerations |
| Bark or Wood Chips |
Long-lasting, decorative |
Can attract termites if too close to structures |
| Straw or Hay |
Adds organic matter to soil |
Tends to blow away in windy areas |
| Compost |
Enriches soil, improves fertility |
Requires periodic replenishment |
| Pebbles or Gravel |
Durable, good for arid regions |
Does not break down into soil nutrients |
Steps for Refreshing Mulch
Refreshing mulch annually or biannually ensures its effectiveness and keeps your landscape looking polished. Follow these steps for proper application: 1.Remove Old Mulch (If Necessary): Clear out any old mulch that has compacted or decomposed significantly. 2.Prepare the Soil Beneath3.Apply New Mulch Layer: Add 2–4 inches of fresh mulch evenly across flower beds and around trees. 4.Maintain Proper Clearance from Plants: Avoid piling mulch directly against stems or trunks as this can promote rot.
Using Weed Barriers Beneath Mulch
Weed barriers can be combined with mulching to further suppress unwanted plant growth: – Lay down landscape fabric before applying mulch to prevent deeper-rooted weeds from emerging. – Ensure edges are anchored securely with garden staples or rocks.
Implementing these practices will minimize maintenance efforts while helping plants thrive in a more controlled environment suitable for long-term gardening success.
Pollinator Garden Upkeep with Landscaping Companies in Hyde Park, MA
Pollinator gardens play a crucial role in supporting biodiversity, enhancing ecosystems, and promoting healthier plants and crops. Regular upkeep of a pollinator garden ensures it remains a thriving habitat for bees, butterflies, hummingbirds, and other essential pollinators.
Importance of Pollinator Garden Maintenance
Neglecting your pollinator garden can lead to overgrowth, nutrient imbalances, or insufficient floral resources for pollinators.
– Sustained food supply for pollinators throughout the seasons.
– Healthy plant growth and bloom cycles.
– A balanced ecosystem that supports diverse wildlife.
Key Steps for Pollinator Garden Upkeep
- Check plants for signs of disease, pests, or nutrient deficiencies.
- Remove any diseased or dead plants promptly to prevent spread.
- Rotate flowering species to ensure year-long blooms.
- Opt for native plants suited to your region as they attract local pollinators.
- Remove spent blooms regularly to encourage new flowers.
- Maintain an aesthetically pleasing garden while ensuring continuous nectar supply.
- Pull out invasive weeds to reduce competition for nutrients and space.
- Use natural weed barriers like mulch or landscape fabric.
- Water deeply but less frequently to encourage strong root systems.
- Avoid overhead watering which can damage delicate flowers commonly visited by pollinators.
Additional Tips for Enhancing Your Pollinator Garden
- Provide Shelter: Include features like hollow stems, brush piles, or bee hotels to provide nesting spaces for solitary bees and other insects.
- Limit Pesticide Use: If pest control is necessary, use organic methods and apply treatments during early morning or late evening when fewer pollinators are active.
- Diverse Plantings: Incorporate plants with varying bloom times and flower shapes—this diversity attracts a wider range of species throughout the year.
Suggested Plants for Pollinator Gardens
| Plant Name |
Type |
Pollinators Attracted |
Bloom Season |
| Lavender |
Perennial |
Bees & Butterflies |
Summer |
| Milkweed |
Perennial |
Monarch Butterflies |
Late Spring/Summer |
| Coneflower |
Perennial |
Bees & Butterflies |
Summer/Fall |
| Black-eyed Susan |
Perennial |
Bees & Birds |
Late Summer/Fall |
| Salvia |
Annual/Perennial |
Hummingbirds & Bees |
Spring/Summer |
Creating a well-maintained pollinator garden not only boosts the health of your local environment but also creates a serene space for you to enjoy nature’s beauty up close. By adhering to these upkeep strategies, you can foster a harmonious balance between people and pollinators in your outdoor space while ensuring lasting ecological benefits.